
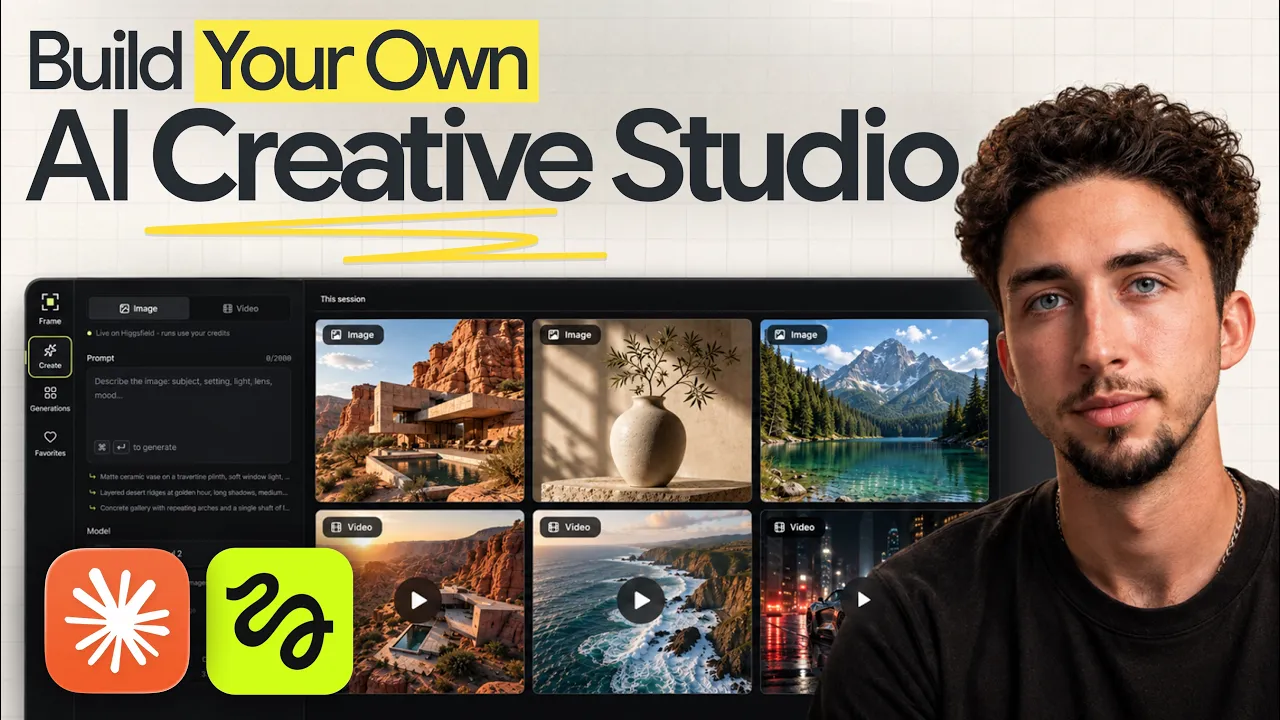
The studio I built
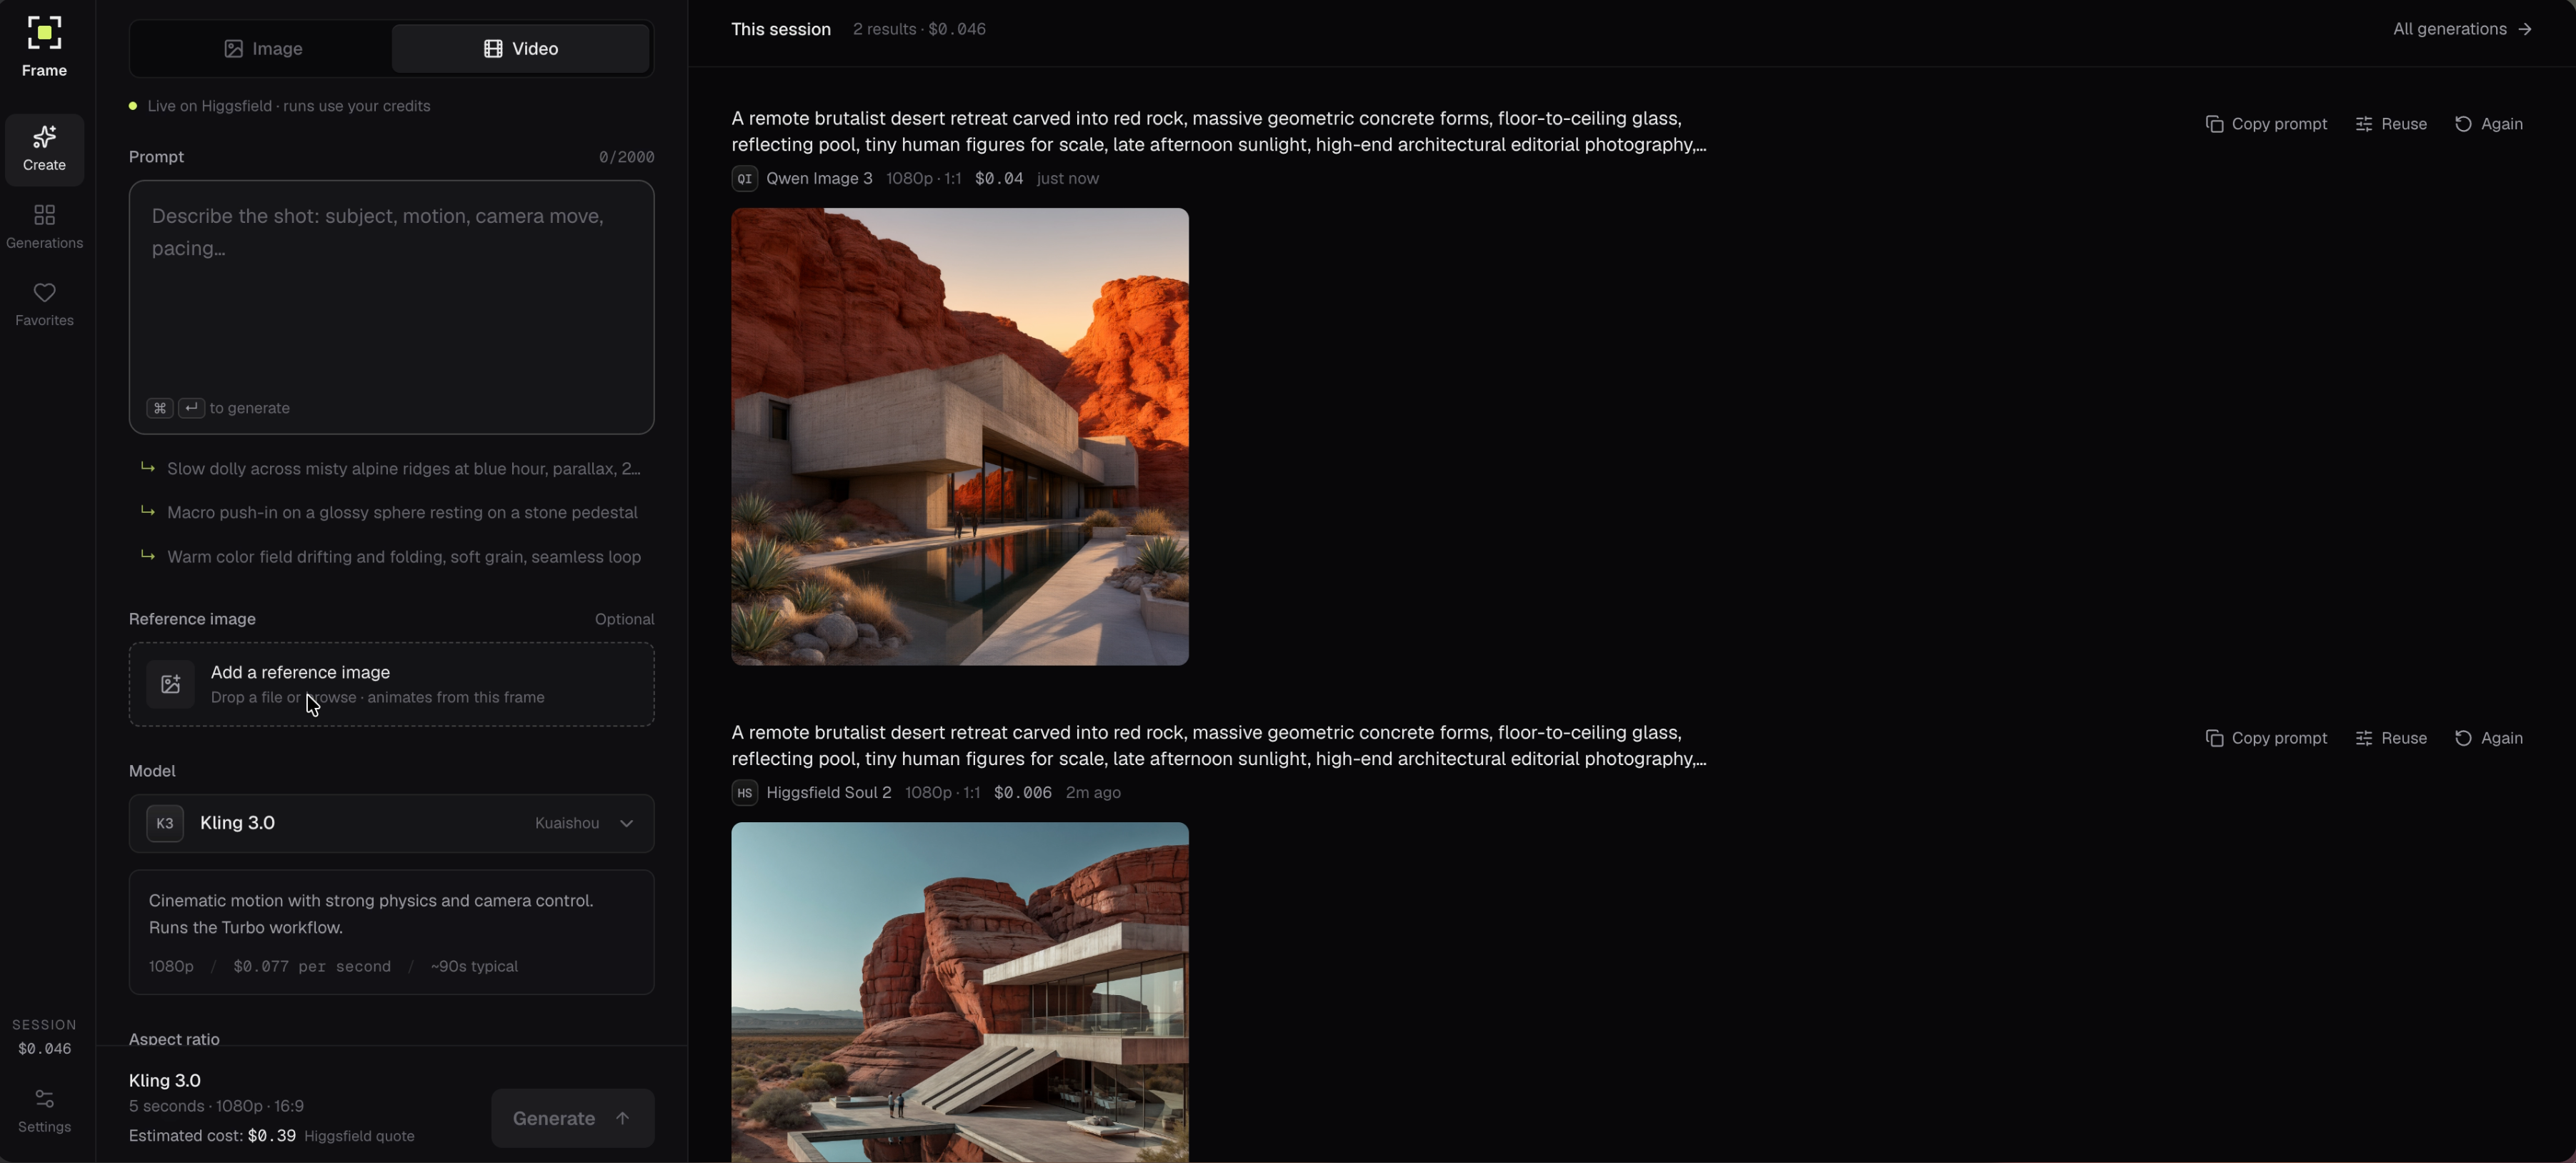
Here is the creative studio UI I generated. Watch the video above for the walkthrough, then copy the customizable starter prompt below.
Copy the prompt
Paste this prompt into your AI coding tool to build the first version with mock generations.
Build a polished web app, an AI creative studio for generating images and videos from multiple AI models.

The goal is to create a professional creative tool that feels like a real product, not a demo or generic AI-generated dashboard.

Use Next.js, TypeScript, and Tailwind CSS. Make it fully responsive.

CORE EXPERIENCE

Create one unified workspace with two primary modes:

1. Image
2. Video

The user should be able to switch between image and video generation without leaving the main workspace.

LAYOUT

Use a dark, premium creative-tool aesthetic.

Create:

- A compact left sidebar for navigation
- A large central generation workspace
- A right-side or bottom results area where appropriate
- Generous spacing and a strong visual hierarchy
- Subtle borders, layered surfaces, and restrained use of gradients
- Avoid excessive rounded cards, unnecessary containers, and generic SaaS dashboard styling

On mobile, collapse the sidebar into accessible navigation and place results below the generation form. Keep the main controls easy to reach and avoid horizontal scrolling.

SIDEBAR

Include:

- A configurable studio name and simple original logo
- Create
- Generations
- Favorites
- Settings

The Create page should be selected by default. Keep the studio name and branding in a centralized configuration so anyone can customize them.

IMAGE GENERATION

Create an Image mode containing:

- Large prompt input
- Model selector
- Aspect ratio selector
- Resolution selector
- Number of outputs
- Generate button

Treat all model names, capabilities, and prices in this prompt as illustrative mock configuration, not verified availability or pricing. Clearly label displayed estimates as mock costs.

Use these example models for now:

- Higgsfield Soul 2
- Qwen Image 3
- Recraft V4.1

When a model is selected, show:

- Model name
- Short description
- Estimated generation cost

For example:

Higgsfield Soul 2
1080p
Estimated cost: $0.0057

VIDEO GENERATION

Create a Video mode containing:

- Prompt input
- Model selector
- Optional image upload/reference area
- Duration
- Resolution
- Aspect ratio
- Generate button

Use these example models:

- Kling 3.0
- Seedance 2.5
- MiniMax H3

Show the estimated cost near the Generate button based on the selected model and duration.

For example:

Kling 3.0
5 seconds · 1080p
Estimated cost: $0.71

RESULTS

Create a polished generation area.

Before anything has been generated, show an intentional empty state.

After generation, results should appear in a visual gallery.

Each result should display:

- Generated asset
- Model
- Prompt
- Generation cost
- Timestamp

Include useful actions such as:

- Download
- Favorite
- Copy prompt
- Generate again

Download should save the actual displayed mock asset. Generate again should restore the original prompt and generation settings before starting another generation. Copy prompt should copy the full prompt and show a success confirmation.

For videos, include native playback controls and use playable local video assets.

GENERATION HISTORY

Create a Generations page that displays previous image and video generations in a visual grid.

Add filters for:

- All
- Images
- Videos

Use realistic mock generations and metadata for now. Persist history, favorites, and settings across refreshes using local storage or IndexedDB. Use IndexedDB for uploaded files or binary assets, and handle storage failures gracefully.

INTERACTIONS

Make the entire interface functional using mock data.

Model switching, Image/Video tabs, settings, filters, favorites, and generation states should all work.

When Generate is clicked:

1. Show queued and generating states
2. Show simulated progress clearly labeled as a simulation; structure the UI so real provider status can replace it later
3. Return a mock result
4. Add it to generation history

Validate required prompts and supported settings before generation. Include clear failed-generation states, retry, and cancellation. Provide a deterministic way to test mock failures. A canceled or failed generation must not appear as a completed result.

Do not connect to any external AI APIs yet.

ACCESSIBILITY

Support keyboard navigation, visible focus states, properly labeled controls, sufficient color contrast, and reduced-motion preferences. Announce generation status changes to assistive technology without announcing every progress update.

ARCHITECTURE

Structure the application so we can connect a real image/video generation API afterward without rebuilding the UI.

Keep model definitions and pricing in a centralized configuration so additional models can easily be added.

Create a clean abstraction for generation providers so that mock generation can later be replaced by real API requests.

IMPORTANT

Do not expose or hard-code any API credentials.

Do not use third-party brand logos or copyrighted imagery in the mock generations.

Use original abstract/product/landscape imagery for placeholders.

Prioritize making the actual creation workflow feel excellent. This should look like a product a designer or creative team would genuinely use every day.

Build the complete first version and run it locally.

Before finishing, test the complete creation flow in both modes, including generation, failure and retry, cancellation, playback, downloads, favorites, history filters, persistence after refresh, keyboard navigation, and mobile layouts. Fix any broken interactions.